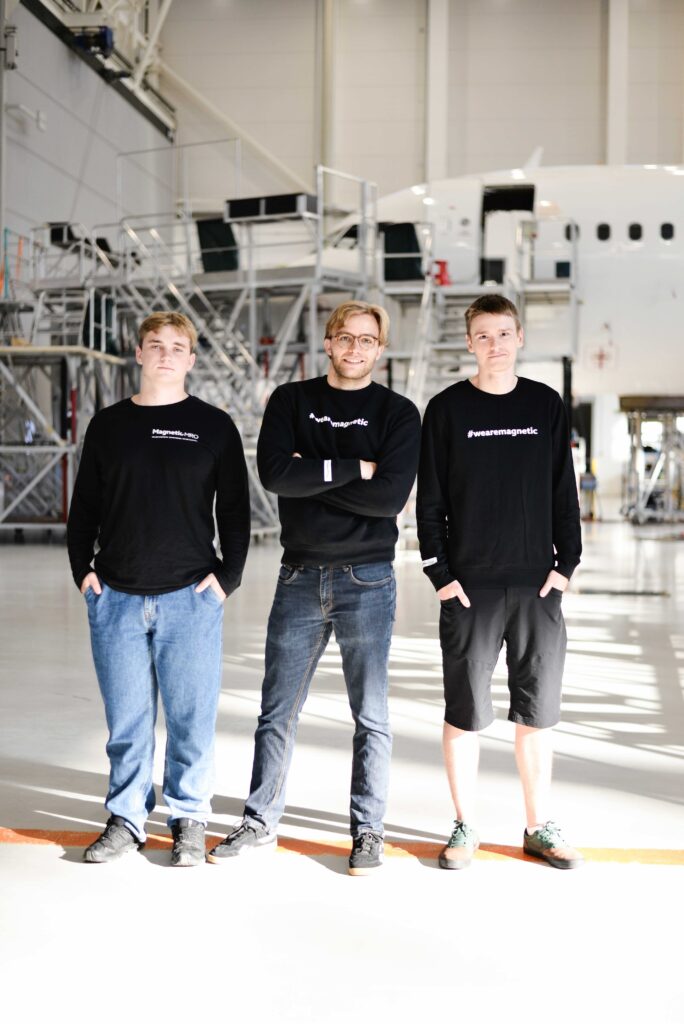
Fuselage Skin Replacement by the Magnetic MRO Sheet Metal Team
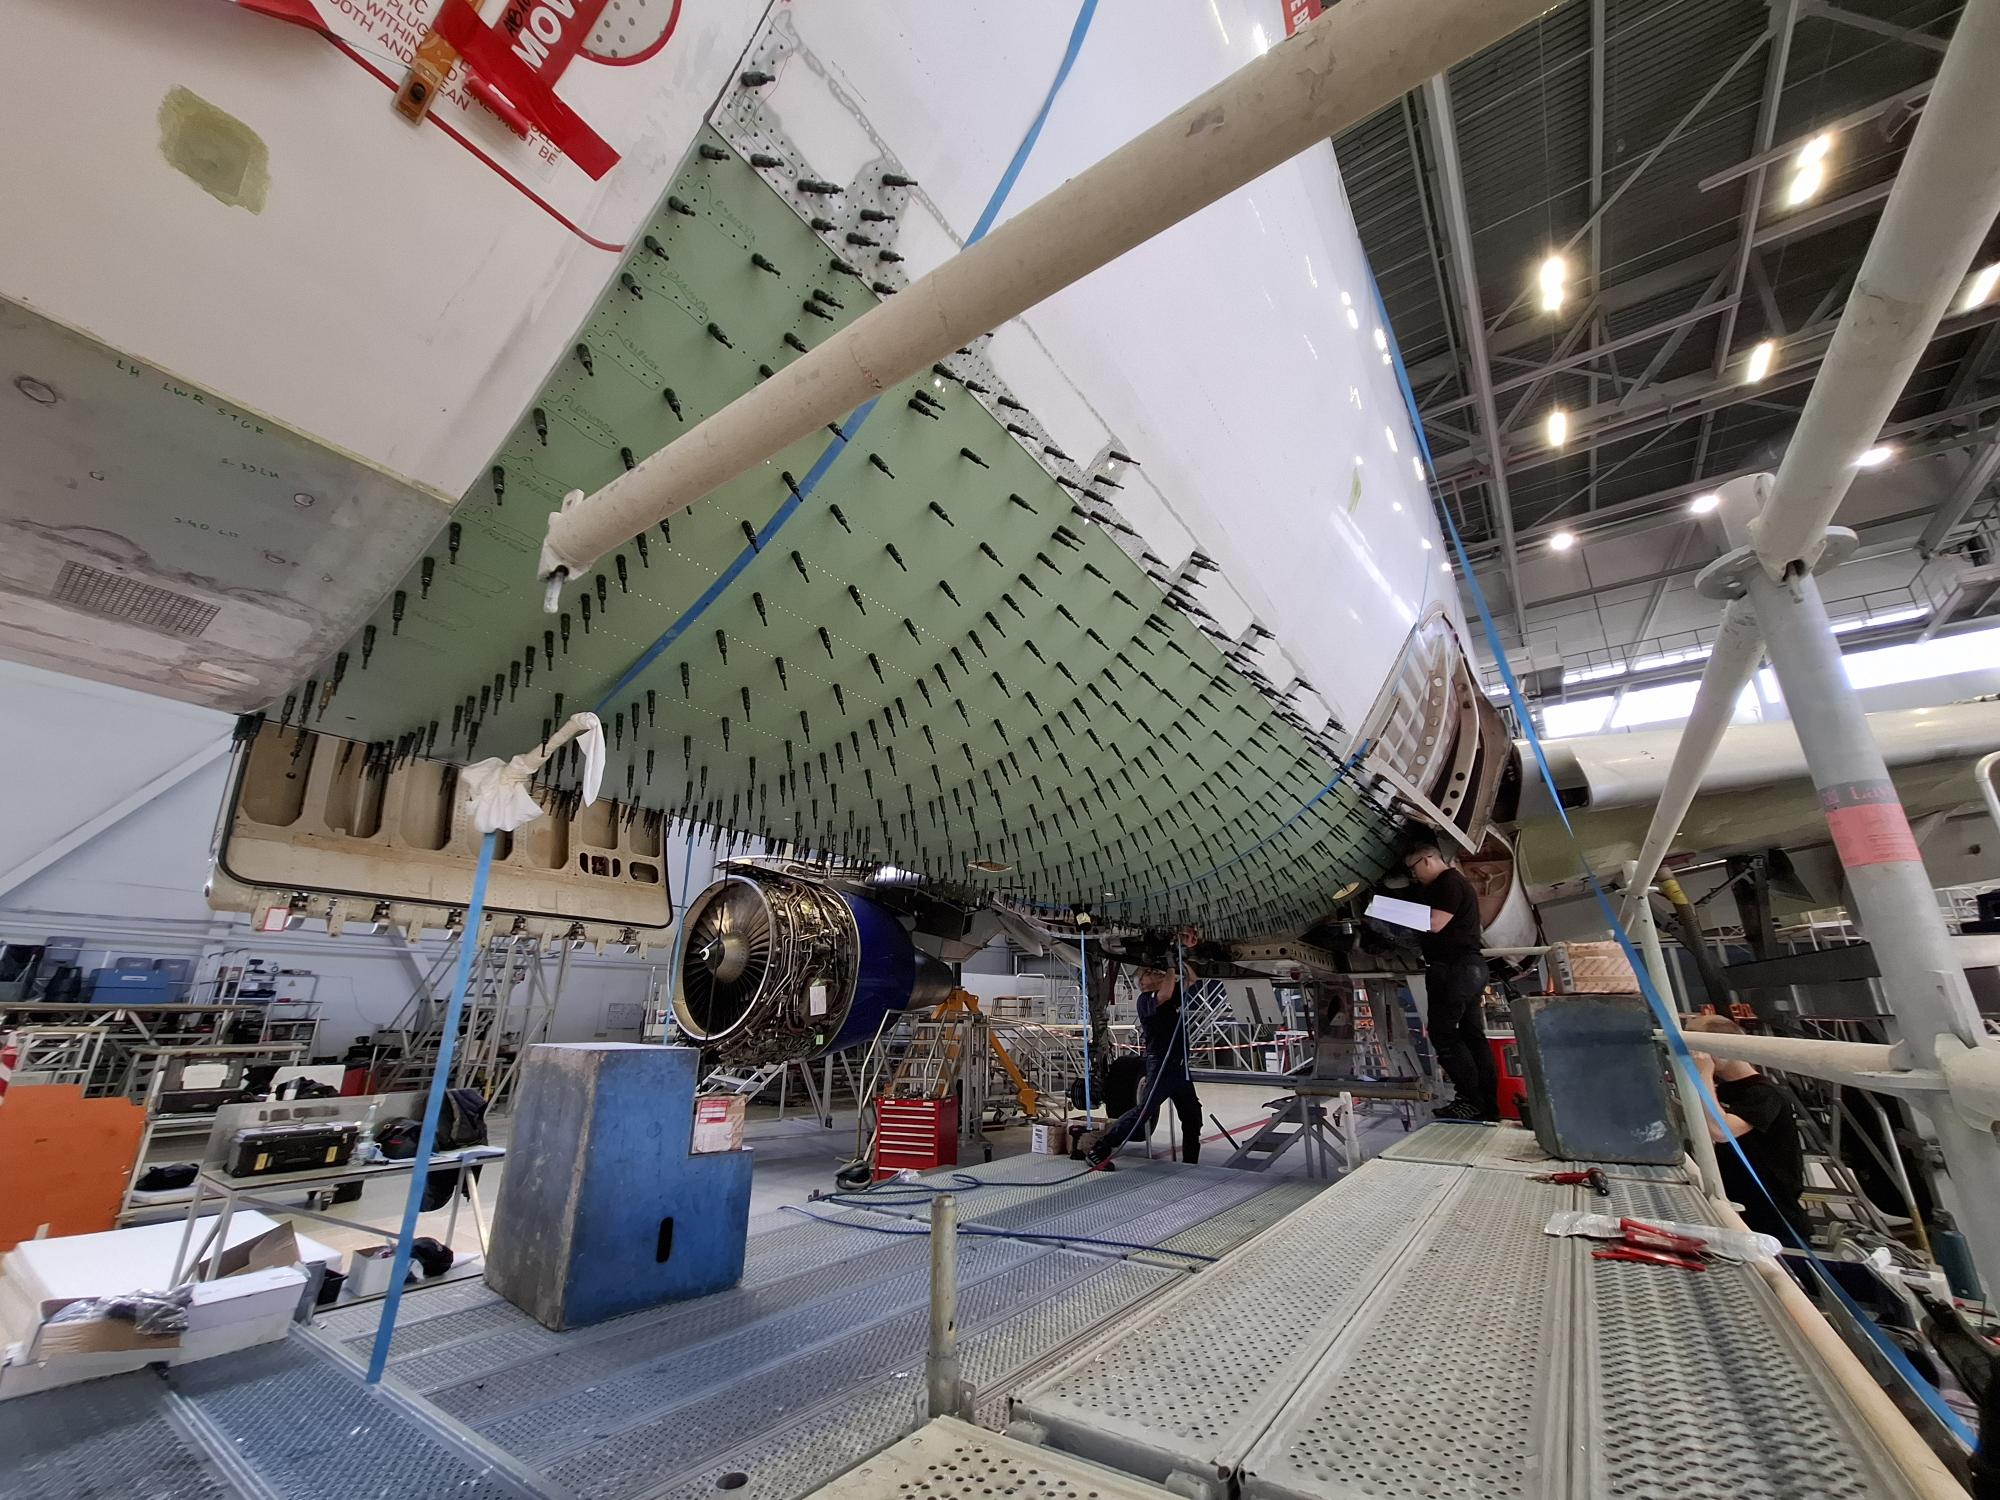
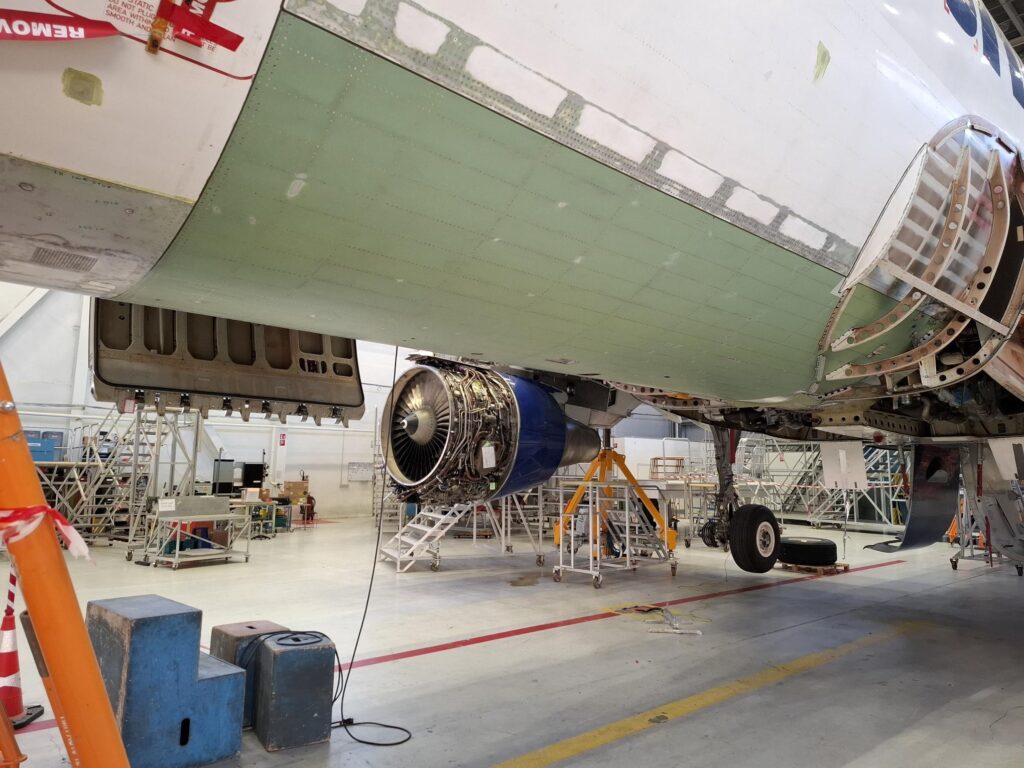
What happens behind the scenes in aircraft maintenance, and how do we handle complex structural repairs? In case similar questions pique your interest, recently, the Magnetic MRO Sheet Metal team undertook a major fuselage skin panel replacement on an aircraft that was undergoing a planned base maintenance visit. During the inspection, damage was identified, necessitating careful and skilled work to restore the aircraft’s structural integrity. Let’s see how the project went.
Identifying and analyzing the damage
First, during the inspection, technicians noted damage on both the exterior and interior surfaces of the fuselage skin panel. Externally, the grit from runways had been impacting the panel as it was picked up by the nose wheels, leading to surface degradation. Internally, corrosion had developed due to humidity and environmental exposure within the enclosed area.
To address these issues, our team used hand-blending machines to remove damaged sections in line with Structural Repair Manual (SRM) guidelines. After removal, Magnetic MRO NDT department colleagues were brought in. Non-destructive testing methods were used to confirm the thoroughness of corrosion removal, rule out hidden cracks, and measure panel thickness, which had thinned in some areas to 1.0 mm, down from the original 1.8–2.2 mm range.
With the damage assessed, detailed information was sent to the manufacturer, who recommended full replacement of the skin panel. This decision marked the beginning of a complex, collaborative project between Magnetic MRO and the manufacturer.
Complex process of skin replacement
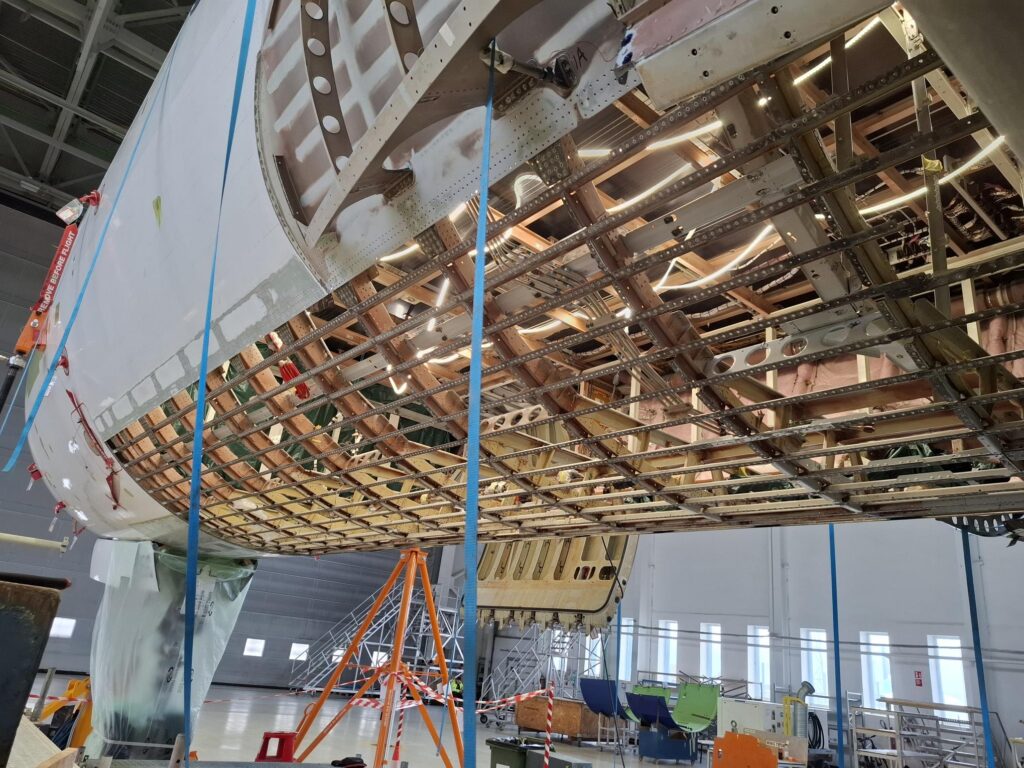
Replacing the fuselage skin panel is a precise process. The first step is zero-stress jacking to eliminate residual loads on the airframe. This was done using specialized load cells and jacks placed in predetermined positions.
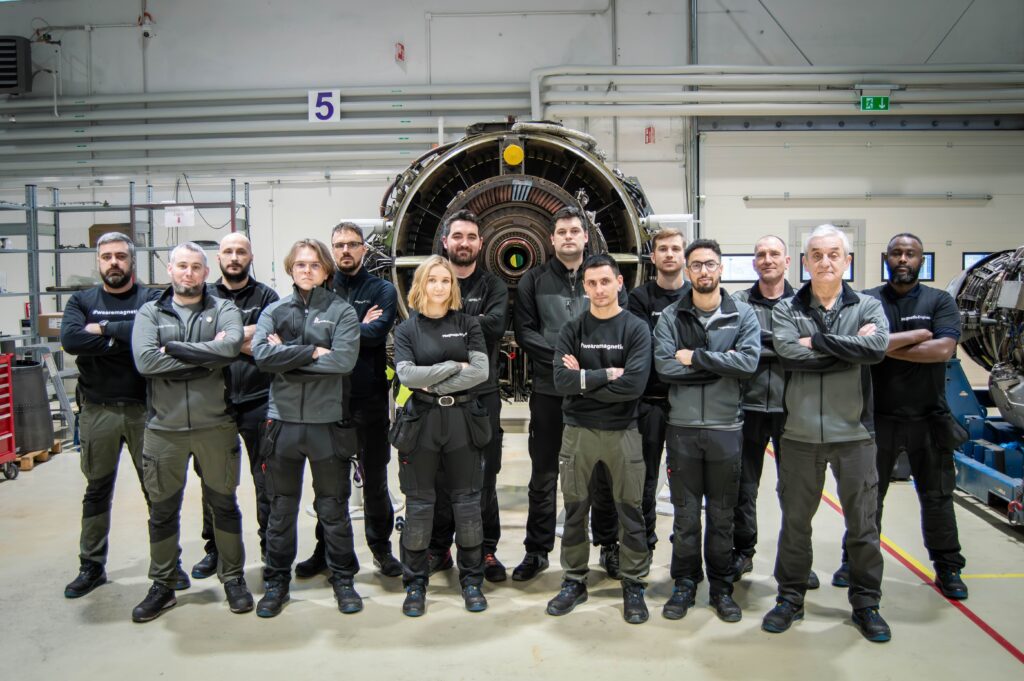
Once jacking was complete, mechanics began to prepare the area by removing various components, such as hydraulic tubes and antennas, both outside and inside the aircraft, to enable full access to the panel. Then, a team of eight sheet metal specialists led by team leader Anthony Griffiths, started to remove the panel. Approximately 8,000 rivets and high-strength bolts were carefully removed over the course of 100 hours, with work continuing day and night.
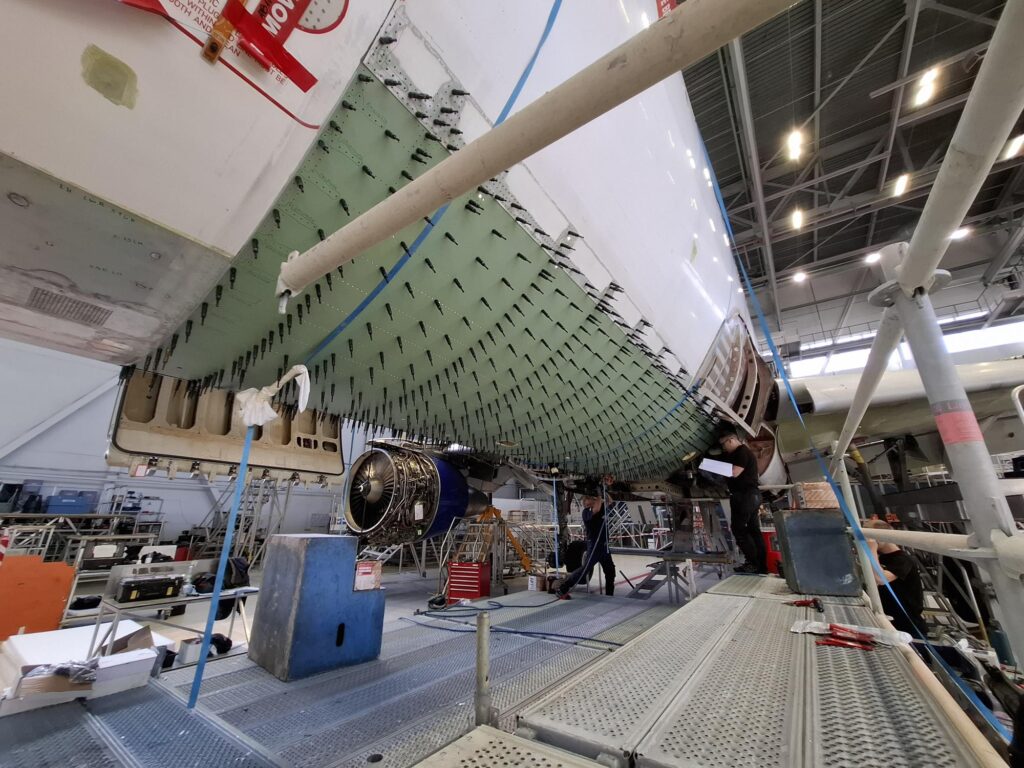
Using the removed panel as a template, the team transferred all fastener holes to the new panel to ensure a precise fit. In addition, minor repairs to adjoining structures were completed as per the manufacturer’s instructions and drawings. With the panel positioned, it was secured to the aircraft using new fasteners, culminating in a structural project that took 10 days and involved approximately 1,200 man-hours of effort.
Final steps: testing, painting, and completion
Following structural completion, systems and components were reinstalled and thoroughly tested, and the panel was painted, restoring the aircraft's exterior. This large-scale project demanded attention to detail and perfect teamwork, as each member played a large role in ensuring both structural integrity and safety.
Every replacement project brings unique challenges, but projects like these strengthen the team spirit, with experienced professionals and apprentices working side-by-side and going the extra mile. This project shows the Magnetic MRO Sheet Metal team's great skills and excellent collaboration between different departments.


 go back

